No Bake Oreo Dessert Recipe
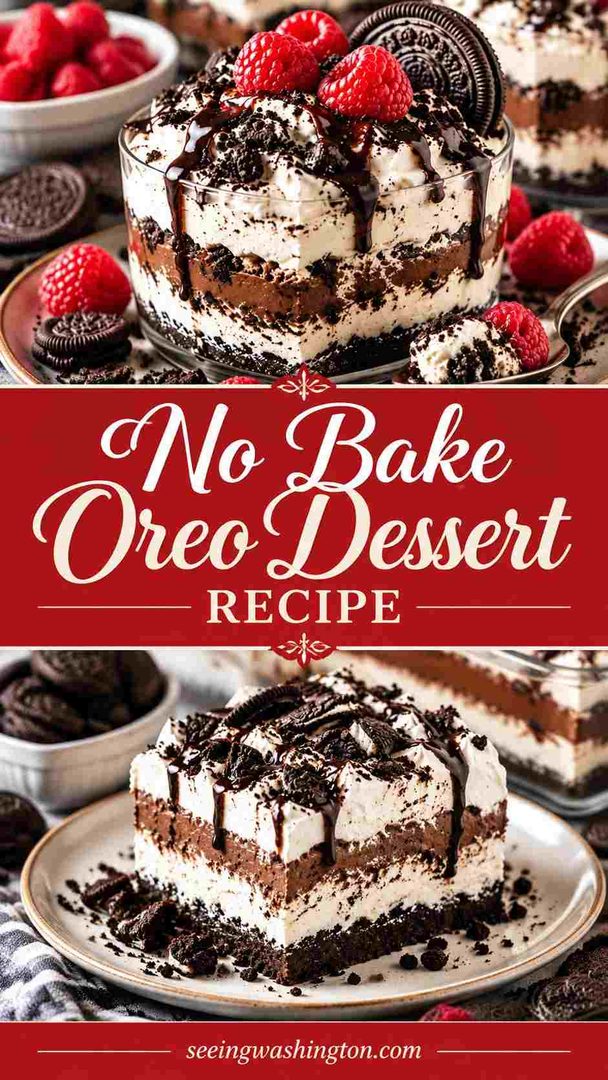
This no bake oreo dessert recipe stacks four cool, creamy layers in one 9×13 pan. A buttery Oreo crust sits under sweet cream cheese, rich chocolate pudding, and fluffy whipped topping. Crushed cookies finish the top with crunch.
The dessert is a classic “lush,” which is a layered icebox treat built on a cookie crust. You need 30 minutes of hands-on work and zero oven time. Chill it overnight, cut clean squares, and serve 12 people.
Quick Recipe Snapshot
- Prep Time: 30 minutes
- Cook Time: None (no bake)
- Chill Time: 4 hours minimum
- Total Time: 4 hours 30 minutes
- Servings: 12
- Difficulty: Easy
- Best For: Parties, potlucks, summer gatherings, and make-ahead desserts
Before You Start
Setup decides whether your layers stay clean or turn soupy.
- Initial preparation: Soften cream cheese at room temperature for 30 to 60 minutes.
- Ingredient organization: Thaw both Cool Whip tubs in the fridge for several hours.
- Equipment requirements: Use a 9×13-inch pan, preferably glass to show the layers.
- Temperature considerations: Use cold milk so the instant pudding sets quickly and firmly.
- Important preparation reminders: Set aside ½ cup Oreo crumbs before making the crust.
Ingredient List
For the Oreo Crust
- 15.35 ounces Double Stuf Oreos: about one standard package, crushed slightly chunky
- ½ cup unsalted butter: melted and slightly cooled
For the Cream Cheese Layer
- 8 ounces cream cheese: softened
- 1 cup powdered sugar
- 8 ounces Cool Whip: thawed
For the Pudding Layer
- 5.1-ounce box instant chocolate pudding: the large box, not cook-and-serve
- 3 cups cold milk: whole or 2% for the firmest set
For the Topping
- 8 ounces Cool Whip: thawed
- ½ cup reserved Oreo crumbs
Ingredient Substitutions
Each swap changes one layer without weakening the dessert’s structure.
- Stabilized whipped cream for Cool Whip: Whip 2 cups heavy cream with ½ cup powdered sugar. Add 1 tablespoon instant pudding mix for stability. Use it on top only, and serve within 24 hours.
- Gluten-free Oreos for regular: Swap in an equal weight of gluten-free sandwich cookies. Check that your pudding mix is also labeled gluten-free.
- Mint Oreos for a mint chocolate version: Use Mint Creme Oreos in the crust. Add ¼ teaspoon peppermint extract to the cream cheese layer with the sugar.
- Different pudding flavor: Replace chocolate with instant vanilla, cheesecake, or cookies ‘n cream pudding. Use the same 5.1-ounce box and 3 cups milk.
- Sugar-free pudding for less sugar: Use a sugar-free instant chocolate pudding mix. Reduce powdered sugar in the cream cheese layer to ¾ cup.
Equipment You Need
- 9×13-inch pan: Holds all four layers evenly; glass shows off clean stripes.
- Large zip-top bag and rolling pin: Crushes Oreos into chunky crumbs with no food processor.
- Electric mixer: Beats cream cheese fluffy and lump-free in about 3 minutes.
- Rubber spatula: Folds Cool Whip gently so the cream cheese layer stays airy.
- Offset spatula: Spreads pudding and topping smoothly without dragging the layer below.
- Whisk and large bowl: Blends pudding mix and milk fully so it sets evenly.
How to Make This Recipe?
A no bake Oreo dessert is built in four layers, then chilled until set. Each layer chills briefly while you prepare the next one. That short rest keeps the layers distinct instead of blending together.
Phase 1: Prepare Everything
Soften the cream cheese and thaw both tubs of Cool Whip. Melt the butter and let it cool slightly. Measure 3 cups of cold milk and keep it refrigerated. Line up the pan, bowls, mixer, and spatulas before starting.
Phase 2: Start Building the Recipe
Place the Oreos in a large zip-top bag and seal it. Crush them with a rolling pin into small, slightly chunky crumbs. Remove ½ cup of crumbs and set it aside for the topping. Pour the rest into the 9×13-inch pan and mash lightly with a fork. Drizzle the melted butter over the crumbs and stir until all are moistened. Press the mixture into an even crust, then refrigerate it.
Phase 3: Develop the Main Components
Beat the cream cheese on medium speed for about 3 minutes. Lower the speed and add the powdered sugar gradually. Raise the speed to medium and beat for 30 more seconds. Fold in one tub of Cool Whip gently with a rubber spatula. Spread the mixture evenly over the chilled crust and refrigerate again.
Phase 4: Bring Everything Together
Whisk the pudding mix and cold milk together for 2 full minutes. Let the pudding rest for 5 minutes so it thickens. Spoon it over the cream cheese layer in several dollops. Spread it smooth with an offset spatula, working gently from the center outward.
Phase 5: Finish and Serve
Spread the second tub of Cool Whip over the pudding layer. Sprinkle the reserved Oreo crumbs evenly across the top. Cover the pan and refrigerate for at least 4 hours, or overnight. Cut into 12 squares with a sharp knife and serve cold.
How to Tell When It’s Ready?
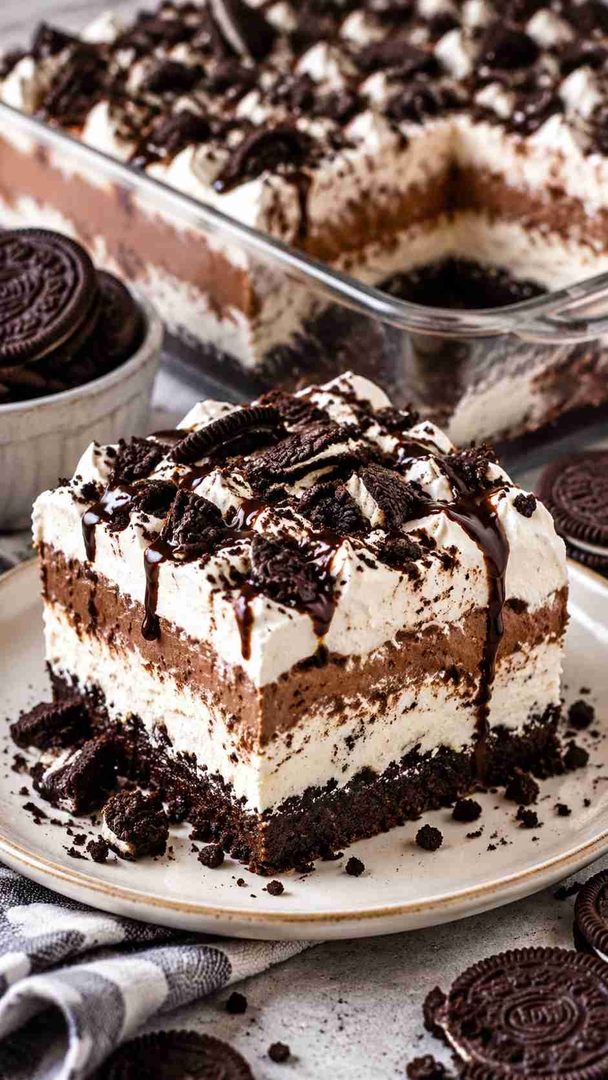
A finished no bake Oreo dessert is firm, cold, and cleanly layered. Check these signs before slicing.
- Appearance: Four distinct stripes show along the sides of a glass pan.
- Texture: Pudding holds firm; a spoon leaves a clean dent behind.
- Temperature or Doneness: Dessert feels fully chilled after at least 4 hours.
- Final Result: Squares lift out cleanly with a crisp crust and creamy layers.
Why Does This Recipe Work?
This recipe works because every layer has a specific job. Here is how each element earns its place.
- Flavor combination: Tangy cream cheese cuts through the sweet chocolate pudding. The Oreo crust adds a dark cocoa note that ties the layers together.
- Texture and consistency: Crunchy crust, airy cream cheese, and silky pudding create three distinct textures. Cool Whip on top keeps every bite light instead of heavy.
- Cooking method: Instant pudding sets through cold, so no oven or stove is needed. The long chill firms every layer, which makes slicing clean and easy.
- Preparation time: Hands-on work takes about 30 minutes from start to finish. The fridge does the rest while you handle other party prep.
- Ingredient accessibility: Every ingredient sits in a standard grocery store’s cookie, dairy, or baking aisle. There are no specialty tools, molds, or hard-to-find items.
Important Tips for Better Results
Most layered dessert failures come from temperature and rushing. These tips prevent both.
- Practical tip: Keep crumbs slightly chunky; fine powder packs into a dense crust.
- Preparation tip: Soften cream cheese fully, or the layer will stay lumpy.
- Cooking tip: Whisk pudding the full 2 minutes so it sets completely.
- Texture tip: Fold Cool Whip gently; overmixing deflates the cream cheese layer.
- Layering tip: Chill each layer briefly before adding the next one.
- Seasoning tip: Add 1 teaspoon vanilla extract to brighten the cream cheese layer.
- Serving tip: Wipe the knife between cuts for neat, bakery-style squares.
Recipe Variations and Customizations
This base adapts easily to new flavors, diets, and holidays. Use these ideas as starting points.
- Make It More Flavorful: Drizzle chocolate or caramel sauce over the top before serving.
- Adjust the Texture: Fold ½ cup mini chocolate chips into the cream cheese layer.
- Create a Different Version: Use peanut butter Oreos and add ½ cup peanut butter.
- Adapt It to Your Preferences: Use Golden Oreos and vanilla pudding for a lighter flavor.
- Holiday Twist: Use seasonal colored Oreos and matching sprinkles on top.
What to Serve With This Recipe?
This rich, cold dessert pairs best with simple, fresh, or warm drinks. Match the pairing to the occasion.
For Everyday Meals
Serve a small square with a glass of cold milk.
For Special Occasions
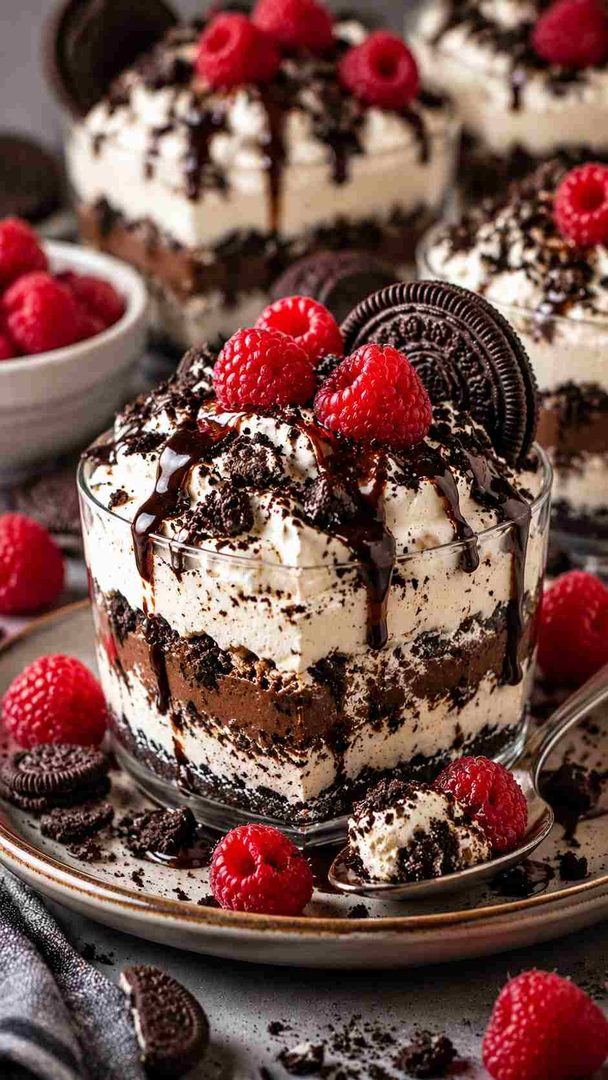
Add fresh raspberries and a drizzle of chocolate sauce.
For a More Complete Meal
Follow grilled burgers or barbecue with chilled squares for dessert.
For a Lighter Option
Pair a thin slice with fresh strawberries and black coffee.
Make-Ahead Preparation
This no bake Oreo dessert improves with time in the fridge. Plan your timing around the chill.
- Prepare in Advance: Assemble the full dessert up to 1 day ahead.
- A Few Hours Before Serving: Check that the pudding is set and firm.
- Just Before Serving: Add extra crumbs or sauce, then slice and serve.
Storage and Reheating
Leftovers keep well when stored cold and tightly covered. Follow these guidelines for the best quality.
- Refrigerator Storage: Cover tightly and refrigerate for up to 4 days.
- Freezer Storage: Freeze covered for up to 1 month; Cool Whip freezes well.
- Reheating Instructions: Do not reheat; serve chilled straight from the fridge.
- Restoring the Original Texture: Thaw overnight in the fridge, then add fresh crumbs.
Common Problems and How to Fix Them
Most problems trace back to temperature, mixing, or chill time. Each has a simple fix.
- The Texture Is Not Right: Lumpy cream cheese means it was cold; soften it fully.
- The Flavor Is Too Mild: Add vanilla extract or a pinch of salt to the cream layer.
- The Recipe Is Overcooked: Not possible here; a soggy crust means too much butter.
- The Consistency Is Too Thick or Too Thin: Runny pudding means warm milk; use cold milk next time.
- The Final Result Looks Different Than Expected: Blended layers mean skipped chilling; chill each layer first.
Frequently Asked Questions
Can I use regular Oreos instead of Double Stuf?
Yes. Regular Oreos work well and make a slightly crunchier crust. Use the same weight, about 15 ounces, with the same butter.
Can I make this no bake Oreo dessert the day before?
Yes. Overnight chilling gives the cleanest slices and the best flavor. Cover the pan tightly so it does not absorb fridge odors.
Can I use homemade whipped cream instead of Cool Whip?
Yes, but homemade cream holds up for a shorter time. Stabilize it with pudding mix, and serve it within 24 hours.
Why didn’t my pudding layer set?
Cook-and-serve pudding or warm milk prevents a firm set. Use instant pudding, cold milk, and whisk for 2 full minutes.
How long can this dessert sit out at a party?
Keep it out for no more than 2 hours. Set the pan over ice on warm days to keep it firm.