Strawberry Shortcake Cheesecake Sushi Rolls
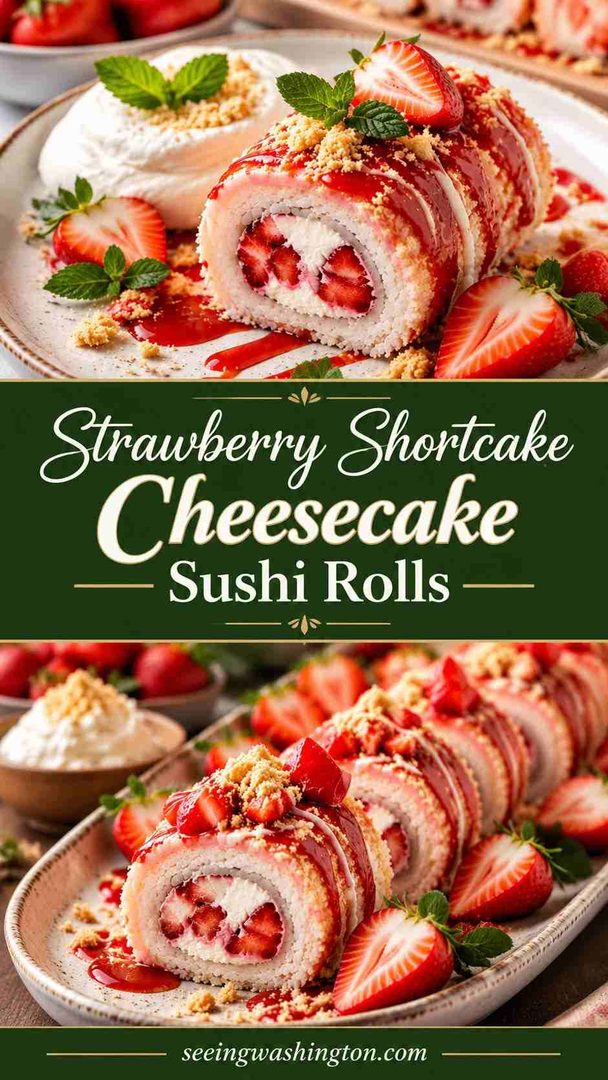
Strawberry shortcake cheesecake sushi rolls turn a classic dessert into neat, sliceable bites. A buttery shortcake base wraps around tangy cheesecake filling studded with fresh strawberries. A crisp rice cereal coating adds crunch and that signature sushi look.
The recipe takes about 30 minutes of active work, plus cooling and a short chill. You get eight servings of rolls that look bakery-made. Serve them at birthday parties, potlucks, or summer gatherings when dessert should start conversations.
Quick Recipe Snapshot
- Prep Time: 10 minutes
- Cook Time: 20 minutes
- Total Time: 30 minutes (plus cooling and 30 minutes chilling)
- Servings: 8
- Difficulty: Easy to moderate
- Best For: Parties, potlucks, birthdays, and make-ahead desserts
Before You Start
Good setup prevents the two biggest problems: cracked cake and watery filling.
- Initial preparation: Soften cream cheese for 30 to 60 minutes at room temperature.
- Ingredient organization: Keep butter cold and diced until you cut it into flour.
- Equipment requirements: Line a 9×13-inch pan with parchment, leaving overhanging edges.
- Temperature considerations: Preheat the oven to 350°F before mixing the dough.
- Important preparation reminders: Pat strawberries completely dry after washing to avoid excess moisture.
Ingredient List
For the Shortcake
- 1 ½ cups all-purpose flour
- ⅓ cup granulated sugar
- 1 ½ teaspoons baking powder
- ¼ teaspoon salt
- 6 tablespoons cold unsalted butter – diced
- ½ cup heavy cream
For the Cheesecake Filling
- 8 ounces cream cheese – softened
- ½ cup powdered sugar
- 1 teaspoon vanilla extract
- 1 cup fresh strawberries – finely diced and patted dry
For Assembly and Garnish
- Fresh strawberries – thinly sliced, about 6 to 8 berries
- 1 to 1 ½ cups crushed rice cereal – for coating
- Whipped cream – for topping
Ingredient Substitutions
Each swap changes one element without breaking the roll’s structure.
- Gluten-free flour for all-purpose: Use a 1:1 gluten-free blend in equal amounts.
- Vegan cream cheese for dairy: Swap 8 ounces vegan cream cheese; use coconut cream for heavy cream.
- Monk fruit for sugar: Replace granulated sugar with monk fruit, or cut sugar by 25%.
- Other berries for strawberries: Use 1 cup raspberries, blueberries, or diced mango in the filling.
- Graham crumbs for rice cereal: Coat with 1 cup crushed graham crackers for a cheesecake-crust flavor.
Equipment You Need
- 9×13-inch baking pan: Bakes the shortcake into a thin, even sheet for rolling.
- Parchment paper: Lines the pan and guides the roll into a tight log.
- Pastry cutter or fork: Cuts cold butter into flour for a tender crumb.
- Hand or stand mixer: Whips cream cheese smooth, fluffy, and lump-free.
- Offset spatula: Spreads filling evenly to the edges without tearing the cake.
- Sharp chef’s knife: Slices clean 1-inch pieces with defined sushi-style edges.
How to Make This Recipe?
Strawberry shortcake cheesecake sushi rolls follow five stages: mix, bake, fill, roll, and slice. The shortcake needs a light hand, and the cake must cool fully before rolling. Chilling sets the filling so each slice holds its shape.
Phase 1: Prepare Everything
Line the 9×13-inch pan with parchment and preheat the oven to 350°F. Dice the butter and return it to the fridge. Wash, dry, and finely dice 1 cup of strawberries. Slice the remaining berries thinly for the assembly stripe. Crush the rice cereal in a zip-top bag and pour it onto a plate.
Phase 2: Start Building the Recipe
Whisk flour, sugar, baking powder, and salt in a large bowl. Cut in the cold butter until the mixture looks like coarse crumbs. Pour in the heavy cream and stir just until combined. The dough should look shaggy, not smooth. Overmixing develops gluten (the protein network that makes dough chewy) and produces dense, brittle shortcake.
Phase 3: Develop the Main Components
Press the dough into an even, thin layer across the lined pan. Bake for 15 to 18 minutes, until golden and just set. Pull it at the lower end of that range for a more flexible sheet. Cool the cake completely. While it cools, beat the cream cheese until fluffy, then mix in powdered sugar and vanilla. Fold in the diced strawberries gently so they don’t release juice.
Phase 4: Bring Everything Together
Lift the cooled shortcake onto a fresh sheet of parchment. Set aside 2 tablespoons of filling, then spread the rest evenly over the cake. Line the thin strawberry slices along one long edge. Starting from that edge, use the parchment to roll the cake slowly and tightly. Spread the reserved filling thinly over the outside, then press crushed cereal onto it.
Phase 5: Finish and Serve
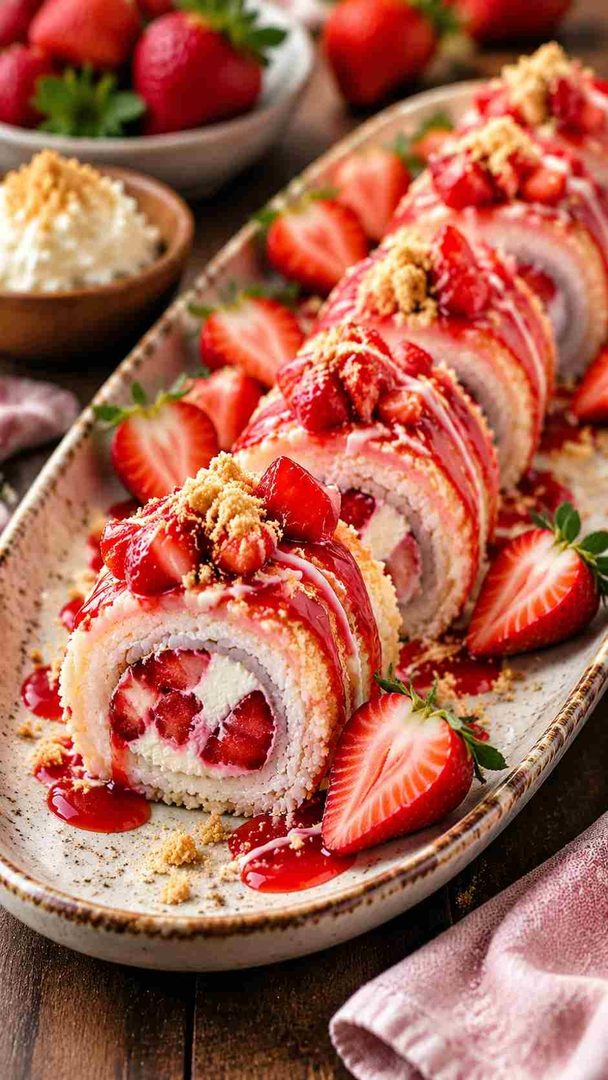
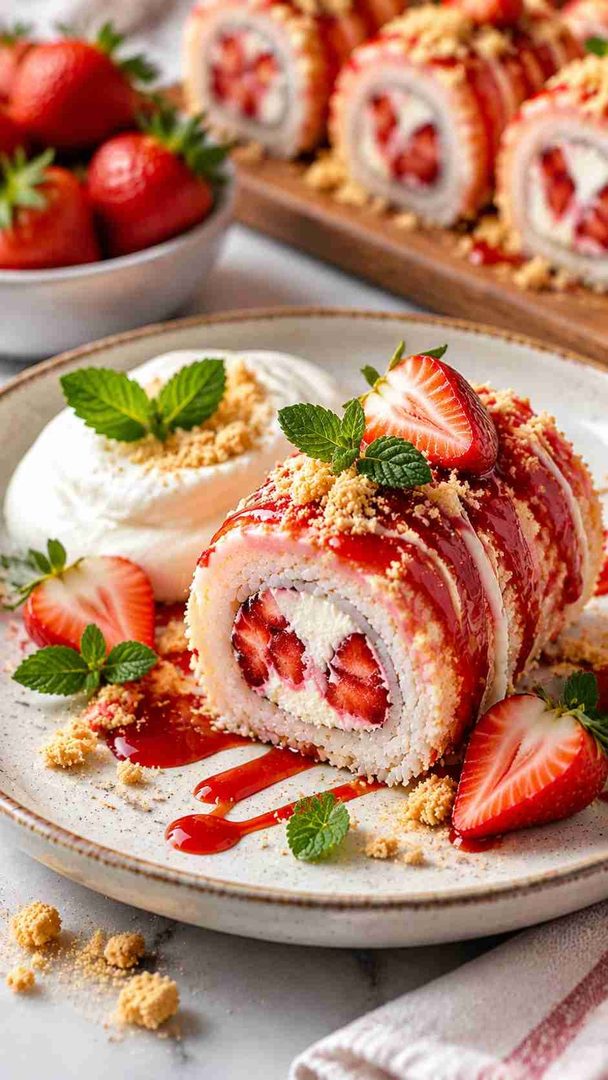
Wrap the roll in parchment and chill for 30 minutes. Slice into 1-inch pieces with a sharp knife. Wipe the blade between every cut for clean edges. Arrange the pieces cut-side up, like sushi, and top each with whipped cream.
How to Tell When It’s Ready?
Each stage has clear signals that tell you to move forward.
- Appearance: Shortcake turns light golden with slightly darker edges.
- Texture: Cake springs back when pressed; filling holds soft peaks.
- Temperature or Doneness: A toothpick comes out clean; keep filled rolls refrigerated.
- Final Result: Clean spirals of cake, creamy filling, red berries, and crunchy coating.
Why Does This Recipe Work?
Strawberry shortcake cheesecake sushi rolls work because each layer has a defined job.
- Flavor combination: Tangy cream cheese balances the sweet strawberries. Buttery shortcake adds warmth and keeps the dessert from tasting one-note.
- Texture and consistency: Soft cake, silky filling, and crisp cereal create three distinct textures. That contrast makes every bite feel complete.
- Cooking method: A thin sheet bakes fast and evenly at 350°F. Chilling firms the cream cheese, so slices hold their shape.
- Preparation time: Active work takes about 30 minutes. Most of the remaining time is hands-off cooling and chilling.
- Ingredient accessibility: Every ingredient is a pantry or dairy-aisle staple. No specialty pans or decorating tools are required.
Important Tips for Better Results
Most failures come from warm cake, wet berries, or rushed slicing.
- Practical tip: Cool the shortcake completely; warm cake cracks and melts the filling.
- Preparation tip: Pat strawberries dry so the filling stays thick, not watery.
- Cooking tip: Slightly underbake the shortcake to keep it flexible for rolling.
- Texture tip: Leave a ½-inch bare border on the far edge for sealing.
- Seasoning tip: Add a pinch of lemon zest to brighten the cheesecake filling.
- Serving tip: Add whipped cream just before serving so it holds its shape.
- Slicing tip: Use a gentle sawing motion instead of pressing straight down.
Recipe Variations and Customizations
This base recipe adapts easily to new flavors, diets, and occasions.
- Make It More Flavorful: Drizzle slices with berry coulis, caramel, or chocolate ganache.
- Adjust the Texture: Use crushed freeze-dried strawberries for a pink, crunchy coating.
- Create a Different Version: Swap in mango and coconut cream for a tropical roll.
- Adapt It to Your Preferences: Replace up to half the flour with whole wheat.
- Holiday Twist: Use raspberries and blueberries for a red, white, and blue roll.
What to Serve With This Recipe?
These rolls pair best with cool, fresh, or lightly sweet sides.
For Everyday Meals
Serve two slices with fresh fruit for a simple after-dinner treat.
For Special Occasions
Arrange on a platter with chopsticks, berry coulis, and chocolate dipping sauce.
For a More Complete Meal
Pair with vanilla or strawberry ice cream for a fuller dessert plate.
For a Lighter Option
Serve single slices with plain Greek yogurt and mint.
Make-Ahead Preparation
Strawberry shortcake cheesecake sushi rolls hold well when you separate the crunchy and creamy parts.
- Prepare in Advance: Bake the shortcake and mix the filling one day ahead.
- A Few Hours Before Serving: Assemble, roll, and chill the log uncoated, wrapped tightly.
- Just Before Serving: Coat with cereal, slice, and top with whipped cream.
Storage and Reheating
Leftovers keep their texture best when stored cold and covered.
- Refrigerator Storage: Store covered in an airtight container for up to 2 days.
- Freezer Storage: Freeze the roll before coating, wrapped tightly, for up to 1 month.
- Reheating Instructions: Do not reheat; serve chilled or slightly cool.
- Restoring the Original Texture: Thaw frozen rolls overnight in the fridge, then coat fresh.
Common Problems and How to Fix Them
Most issues trace back to temperature, moisture, or mixing.
- The Texture Is Not Right: Dense cake means overmixing; stir only until just combined.
- The Flavor Is Too Mild: Add lemon zest, extra vanilla, or a berry drizzle.
- The Recipe Is Overcooked: Dry, cracking cake means overbaking; check at 15 minutes.
- The Consistency Is Too Thick or Too Thin: Runny filling means wet berries; chill it 15 minutes.
- The Final Result Looks Different Than Expected: Messy slices mean short chilling; chill 30 more minutes.
Frequently Asked Questions
Can I use frozen strawberries for strawberry shortcake cheesecake sushi rolls?
Yes, but thaw and drain them thoroughly first. Pat them dry with paper towels so the filling doesn’t turn watery.
How do I keep the shortcake from cracking when I roll it?
Press the dough thin, avoid overbaking, and cool it completely. Roll slowly with parchment, and the cereal coating hides small cracks.
How do I make this recipe vegan?
Use vegan cream cheese, coconut oil or vegan butter, and coconut cream. Top with a dairy-free whipped topping.
Can I make strawberry shortcake cheesecake sushi rolls ahead of time?
Yes. Assemble the roll up to one day ahead and refrigerate it. Add the cereal coating and whipped cream just before serving.
Why is my cereal coating not sticking?
Bare shortcake is too dry to grip cereal. Spread a thin layer of reserved filling outside first, then press the cereal on gently.