Christmas Rice Crispy Treats With Sprinkles Recipe
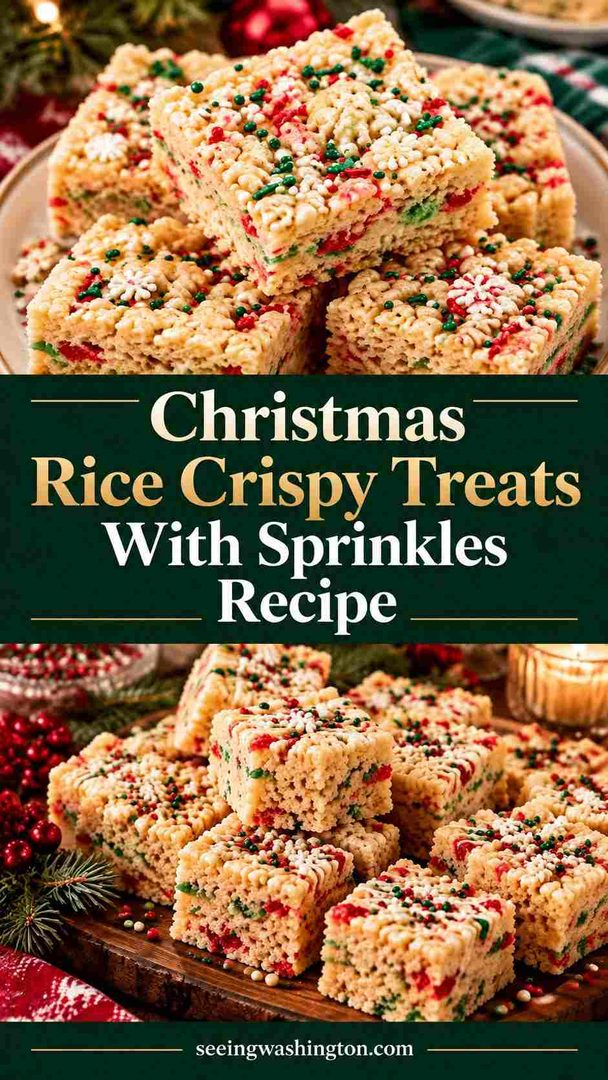
Christmas rice crispy treats with sprinkles turn a classic no-bake dessert into a festive holiday showstopper. Melted marshmallows, butter, and baker’s white chocolate coat red and green crispy rice cereal for a soft, chewy bite. Colorful nonpareils add crunch and cheer without bleeding color.
You need just seven simple ingredients and 40 minutes from start to finish. Expect soft, gooey squares, a sweet white chocolate drizzle, and a tray that disappears fast at parties, cookie swaps, and school events.
Quick Recipe Snapshot
- Prep Time: 30 minutes
- Cook Time: None (10 minutes chill time)
- Total Time: 40 minutes
- Servings: 16 squares
- Difficulty: Easy
- Best For: Holiday parties, cookie swaps, kids’ baking days
Before You Start
- Initial preparation: Line a 9×9-inch dish with parchment paper first. Chop the white chocolate into small, even pieces.
- Ingredient organization: Measure everything before you turn on the stove. The marshmallow mixture sets fast once it leaves the heat.
- Equipment requirements: Grab a medium saucepan, large bowl, and silicone spatula. Keep a small bowl of water nearby for pressing.
- Temperature considerations: Use low to medium heat only. High heat makes marshmallows stiff and the treats hard.
- Important preparation reminders: Use nonpareils, not crystal sprinkles. Crystal sprinkles bleed color into the white marshmallow coating.
Ingredient List
- ½ cup unsalted butter: Creates a rich, creamy base. Unsalted lets you control the salt.
- 6 cups mini marshmallows: Mini marshmallows melt faster and more evenly than large ones.
- ½ cup baker’s white chocolate, chopped: Plus extra for drizzling. Avoid chips because they melt poorly.
- Pinch of salt: Balances the sweetness and sharpens the flavor.
- 1 teaspoon vanilla extract: Adds warm, rounded flavor to the marshmallow mixture.
- 6 cups holiday rice krispies: Red and green cereal gives instant festive color.
- ¼ cup red and green nonpareil sprinkles: Nonpareils are tiny candy balls. Save extra for topping.
Ingredient Substitutions
- Gluten-free swap: Replace Rice Krispies with 6 cups gluten-free crispy rice cereal. The brand version contains malt flavoring.
- Dairy-free swap: Use ½ cup vegan butter and 6 cups vegan marshmallows. Choose dairy-free white chocolate for melting.
- Peppermint twist: Replace vanilla with ½ teaspoon peppermint extract. Stir it in after removing the pan from heat.
- Brown butter flavor: Cook the butter until golden and nutty before adding marshmallows. Watch closely to prevent burning.
- Gingerbread spice: Add ½ teaspoon cinnamon and ¼ teaspoon ginger with the vanilla. The spices give a cozy holiday flavor.
Equipment You Need
- Medium saucepan: Melts butter, marshmallows, and white chocolate evenly over gentle heat.
- Large mixing bowl: Gives you room to fold cereal without crushing it.
- Silicone spatula: Scrapes sticky marshmallow cleanly and presses the mixture gently.
- 9×9-inch square dish: Shapes the treats into thick, even squares.
- Parchment paper: Prevents sticking and lets you lift the slab out easily.
- Sharp knife: Cuts clean, even squares without squashing the edges.
How to Make This Recipe?
This recipe follows a simple melt, mix, press, and chill method. You melt the base on the stove, coat the cereal, then let it set. The whole process takes about 40 minutes with no oven required.
Phase 1: Prepare Everything
Line your 9×9-inch dish with parchment paper. Chop the white chocolate into small pieces. Measure the cereal into a large mixing bowl. Set aside extra chocolate and sprinkles for the topping.
Phase 2: Start Building the Recipe
Place a medium saucepan over low to medium heat. Add the butter and let it melt completely. Keep the heat gentle so the butter does not brown.
Phase 3: Develop the Main Components
Add the marshmallows one cup at a time. Stir until each batch melts before adding more. Once smooth, add the chopped white chocolate. Stir constantly until the mixture turns glossy and silky. Remove the pan from heat. Stir in the salt and vanilla.
Phase 4: Bring Everything Together
Pour the warm mixture slowly over the cereal. Fold gently until every piece looks coated. Add the sprinkles last and mix just until spread evenly. Transfer everything to the lined dish.
Phase 5: Finish and Serve
Wet your spatula lightly and press the mixture down gently. Drizzle melted white chocolate over the top. Scatter extra sprinkles before the chocolate sets. Chill for 30 minutes in the fridge or 10 minutes in the freezer. Slice into 16 equal squares and serve.
How to Tell When It’s Ready?
Finished treats show clear visual and texture signs. Check these before you slice.
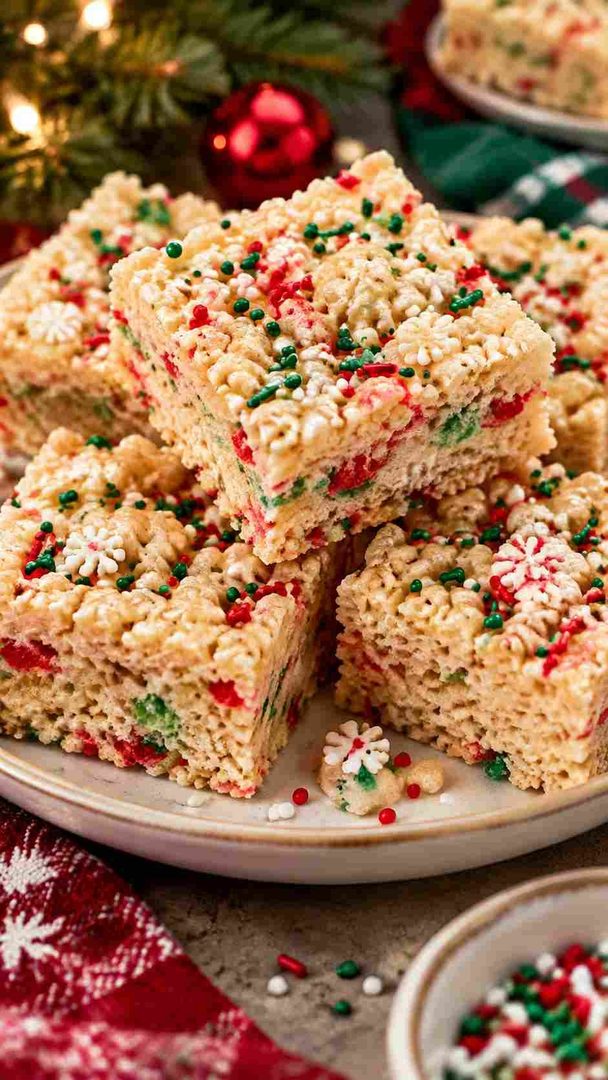
- Appearance: The surface looks even and glossy. The white chocolate drizzle looks firm, not wet.
- Texture: Squares feel soft and chewy, not hard. They hold their shape when lifted.
- Temperature or Doneness: The chocolate feels set to the touch. The slab feels cool throughout.
- Final Result: Clean-cut squares with colorful cereal and sprinkles. Each bite tastes gooey, sweet, and lightly crisp.
Why Does This Recipe Work?
This recipe works because every ingredient has a clear job. Here is what makes it reliable.
- Flavor combination: White chocolate adds creamy sweetness to the classic marshmallow base. Vanilla deepens the flavor, and salt keeps it from tasting flat.
- Texture and consistency: The 1:1 marshmallow-to-cereal ratio keeps treats chewy, not dry. Melted white chocolate adds structure so the squares hold together.
- Cooking method: Low heat keeps marshmallows soft and stretchy. Gentle pressing prevents dense, rock-hard squares.
- Preparation time: You go from saucepan to serving plate in 40 minutes. That makes it ideal for last-minute holiday events.
- Ingredient accessibility: Every ingredient sits on regular grocery store shelves. Holiday cereal and nonpareils appear in most stores each December.
Important Tips for Better Results
Small details decide whether treats turn out chewy or hard. Follow these tips for consistent results.
- Use fresh marshmallows: Stale marshmallows melt unevenly and create stiff treats.
- Prep before heating: Line the pan and measure cereal before melting anything.
- Keep the heat low: High heat hardens sugar and makes treats tough.
- Press lightly: A damp spatula prevents sticking and avoids overpacking.
- Taste before mixing: Add another pinch of salt if the base tastes too sweet.
- Add sprinkles last: Late mixing keeps nonpareils from melting into the coating.
- Cut with a warm knife: Dip the knife in hot water for cleaner edges.
Recipe Variations and Customizations
This base recipe adapts easily to different tastes and events. Try these changes next.
- Make It More Flavorful: Add crushed candy canes on top. Swap vanilla for almond extract.
- Adjust the Texture: Add 1 extra cup marshmallows for gooier treats. Use less for firmer bars.
- Create a Different Version: Press into tree-shaped cookie cutters. Dip square halves in melted dark chocolate.
- Adapt It to Your Preferences: Use plain cereal with green food coloring. Try snowflake or star sprinkles.
What to Serve With This Recipe?
These treats pair well with warm drinks and other holiday sweets.
For Everyday Meals
- Serve with a glass of cold milk for an after-school snack.
For Special Occasions
- Add them to a holiday dessert board with cookies and fudge.
For a More Complete Meal
- Offer after a holiday ham or roast chicken dinner.
For a Lighter Option
- Pair half-squares with fresh berries or clementine slices.
Make-Ahead Preparation
These treats hold up well when made in advance. Plan your timing with these steps.
- Prepare in Advance: Make the full batch up to 2 days early. Store uncut in an airtight container.
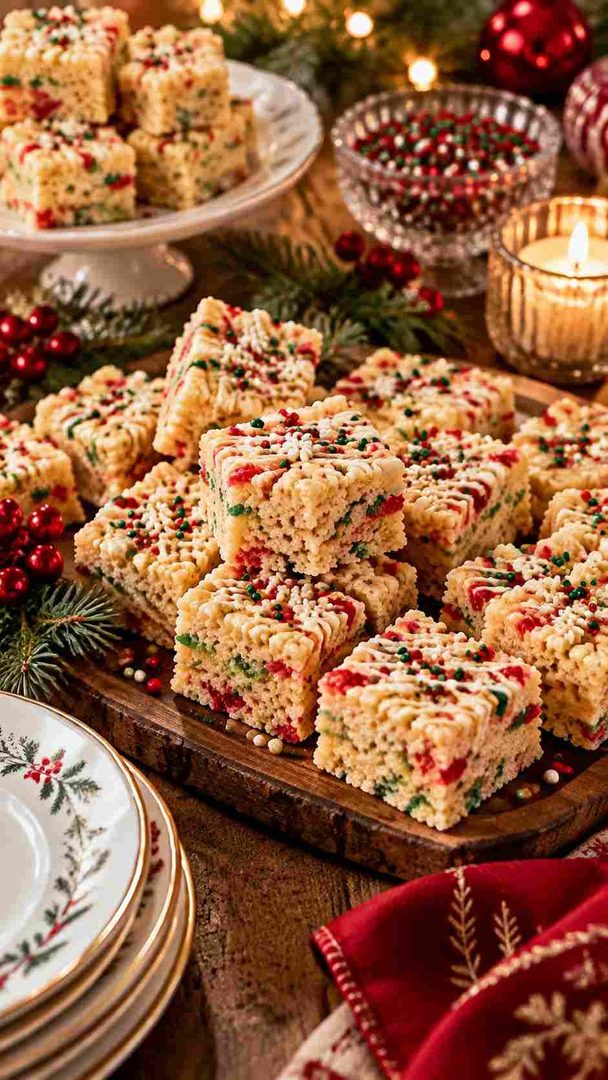
- A Few Hours Before Serving: Slice into squares and arrange on a platter. Cover loosely to keep them soft.
- Just Before Serving: Add fresh sprinkles or an extra chocolate drizzle for shine.
Storage and Reheating
Proper storage keeps treats soft and chewy for days. Use these methods for leftovers.
- Refrigerator Storage: Keep in an airtight container for up to 1 week. Counter storage lasts 2 to 3 days.
- Freezer Storage: Wrap squares individually and freeze for up to 3 months.
- Reheating Instructions: Thaw frozen squares at room temperature for 30 minutes. No heating needed.
- Restoring the Original Texture: Microwave a firm square for 5 to 8 seconds to soften.
Common Problems and How to Fix Them
Most issues come from heat, ratios, or pressing. Here is how to solve each one.
- The Texture Is Not Right: Hard treats mean high heat or overpacking. Use low heat and press gently.
- The Flavor Is Too Mild: Add more salt and vanilla next time. Brown the butter for depth.
- The Recipe Is Overcooked: Overheated marshmallows turn stiff. Remove from heat once just melted.
- The Consistency Is Too Thick or Too Thin: Dry treats need more marshmallows. Sticky treats need more cereal.
- The Final Result Looks Different Than Expected: Runny colors come from crystal sprinkles. Switch to nonpareils.
Frequently Asked Questions
Can I use marshmallow fluff instead of mini marshmallows?
Marshmallow fluff is not recommended. Butter and mini marshmallows create the best chewy texture.
Why are my Christmas rice crispy treats with sprinkles hard?
Hard treats come from high heat or pressing too firmly. Use low heat and a light touch.
Which sprinkles work best for rice crispy treats?
Nonpareils work best. Crystal sprinkles bleed color into the white coating.
Can I use white chocolate chips instead of baker’s chocolate?
Baker’s chocolate works better. Chips contain stabilizers that stop them from melting smoothly.
Are Christmas rice crispy treats gluten-free?
Brand-name Rice Krispies are not gluten-free. Use a certified gluten-free crispy rice cereal instead.