Festive Butterfinger Balls Recipe
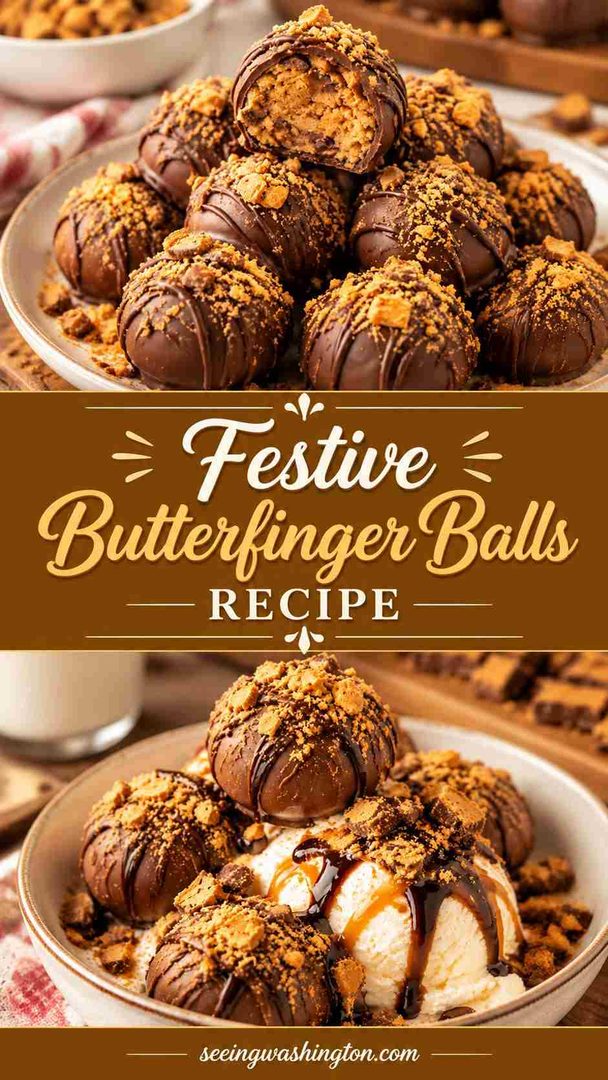
Festive Butterfinger Balls turn a favorite candy bar into a bite-sized holiday truffle. A creamy peanut butter filling gets crunch from graham crumbs and crushed Butterfingers. Each ball is dipped in chocolate almond bark, a candy coating that melts without tempering.
A chocolate drizzle and extra candy finish the top. You need seven ingredients and 15 minutes of hands-on work. Expect 29 rich, crispy treats for cookie trays, parties, and homemade gifts. Here’s how to make them step by step.
Quick Recipe Snapshot
- Prep Time: 15 minutes
- Cook Time: None (no-bake)
- Chill Time: 45 minutes
- Total Time: 1 hour
- Servings: 29 balls
- Difficulty: Easy
- Best For: Holiday parties, cookie trays, game day, and edible gifts
Before You Start
- Initial preparation: Soften the butter at room temperature for about 30 minutes.
- Ingredient organization: Crush the Butterfingers and graham crackers before you start mixing.
- Equipment requirements: Use a hand mixer for a smooth, evenly blended filling.
- Temperature considerations: Chill the balls before dipping, or they will fall apart.
- Important preparation reminders: Skip natural peanut butter, since its oil stops the filling setting.
Ingredient List
Peanut Butter Filling
- 1 cup creamy peanut butter (Jif or Skippy work well)
- ¼ cup salted butter, softened
- 1 tsp pure vanilla extract
- 1 cup powdered sugar
- ¾ cup graham cracker crumbs
- ½ cup crushed Butterfinger candy (about 6 fun-size bars)
Coating and Garnish
- 10 oz chocolate almond bark, divided (8 oz for coating, 2 oz for drizzle)
- 1–2 extra fun-size Butterfingers, crushed, for topping
Ingredient Substitutions
- Nut-free version: Swap peanut butter for 1 cup SunButter. Add crumbs if the mixture feels soft.
- Gluten-free option: Use ¾ cup gluten-free graham crumbs. Add them with the powdered sugar.
- Extra crunch: Use crunchy peanut butter instead of creamy. Beat it in at the start.
- Different coating: Melt 10 oz dark chocolate wafers instead of almond bark.
- Holiday color twist: Coat in white almond bark and add red and green sprinkles before setting.
Equipment You Need
- Hand mixer: Beats peanut butter and butter into a smooth, lump-free base.
- 1-tablespoon cookie scoop: Portions even balls so every truffle sets and coats evenly.
- Parchment-lined baking sheet: Holds the balls during chilling and stops coated bottoms sticking.
- Shallow microwave-safe bowl: Gives you enough depth to roll each ball fully in chocolate.
- Fork or candy dipping tool: Lifts coated balls and lets excess chocolate drip away.
- Piping bag or zip-top bag: Creates thin, neat drizzle lines across the tops.
How to Make This Recipe?
This recipe of Festive Butterfinger Balls takes four simple stages: mix, roll, chill, and dip. Chilling is the step that matters most. A firm filling holds its shape in warm chocolate, which gives you smooth, round truffles.
Phase 1: Prepare Everything
Soften the butter until it dents easily under your finger. Place the Butterfingers in a zip-top bag and crush them with a rolling pin. Set aside a small handful for garnish. Crush the graham crackers into fine crumbs. Line a baking sheet with parchment paper and clear fridge space for it.
Phase 2: Start Building the Recipe
Add the peanut butter, butter, and vanilla to a medium mixing bowl. Beat on medium-high speed for about 1 minute. The mixture should look smooth and creamy. Scrape down the sides once so no butter streaks remain.
Phase 3: Develop the Main Components
Lower the mixer to medium-low speed. Add the powdered sugar, graham cracker crumbs, and ½ cup crushed Butterfingers. Mix for 1½ to 2 minutes until fully combined. The dough should feel firm and hold together when pressed.
Phase 4: Bring Everything Together
Scoop heaping tablespoons of dough and roll each into a smooth ball. Place the balls on the lined baking sheet. Chill for at least 30 minutes until firm. Microwave 8 oz almond bark for 45 seconds, stir, then heat in 30-second bursts. Roll each chilled ball in the chocolate and lift it out with a fork. Tap off the excess and set it back on the parchment.
Phase 5: Finish and Serve
Melt the remaining 2 oz almond bark in 30-second bursts. Pour it into a piping bag or zip-top bag with a tiny snipped corner. Drizzle thin lines over each ball. Sprinkle the reserved crushed Butterfingers on top while the drizzle is wet. Refrigerate until the coating sets, then serve chilled.
How to Tell When It’s Ready?
Finished Festive Butterfinger Balls show clear signs at each stage. Check these cues before serving or packing them.
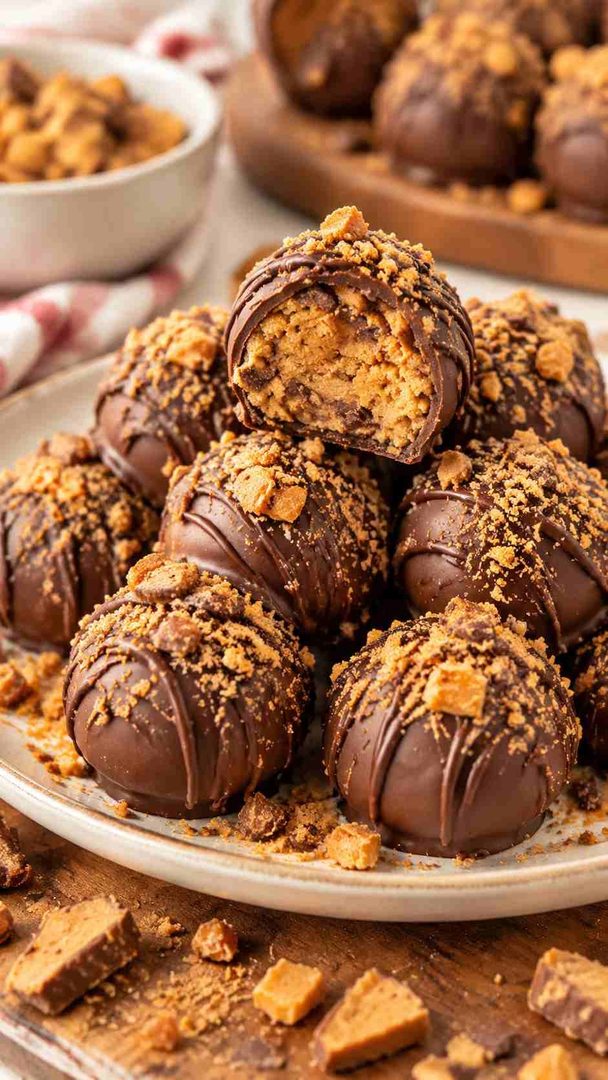
- Appearance: The coating looks glossy, even, and free of bare spots.
- Texture: The shell snaps lightly, and the center feels firm but creamy.
- Temperature or Doneness: The coating feels dry to the touch after 15 minutes chilling.
- Final Result: Round, chocolate-covered balls with crisp drizzle and candy on top.
Why Does This Recipe Work?
This recipe balances flavor, texture, and convenience. Each element has a clear job in the final truffle.
- Flavor combination: Peanut butter and chocolate create a classic sweet-salty pairing. Butterfinger pieces add a toasty, honeycomb-like candy flavor. Salted butter sharpens every other flavor in the filling.
- Texture and consistency: Graham crumbs firm up the filling and add a light, cookie-like bite. Crushed Butterfingers bring flaky crunch. The smooth chocolate shell contrasts with the creamy center.
- Cooking method: No oven means no baking errors or overbrowning. Chilling does the setting work for you. Almond bark melts smoothly without tempering, so the shell sets shiny.
- Preparation time: Hands-on work takes just 15 minutes. The fridge handles the rest while you clean up.
- Ingredient accessibility: Every ingredient sits on standard grocery store shelves. Almond bark is stocked in the baking aisle near chocolate chips.
Important Tips for Better Results
Small details make these Festive Butterfinger Balls look and taste professional. Follow these tips to avoid the most common mistakes.
- Use processed peanut butter: Natural peanut butter separates and leaves the filling too oily.
- Crush candy finely: Large Butterfinger chunks make balls crack and lose their shape.
- Chill for 30 minutes minimum: Firm filling stays intact when rolled in warm chocolate.
- Refreeze soft balls: Place softened balls in the freezer for 5–10 minutes.
- Melt chocolate slowly: Short 30-second bursts stop almond bark from scorching or seizing.
- Clean the fork bottom: Swipe excess chocolate off with a toothpick for neat bases.
- Serve chilled: Cold truffles hold their shape and taste fresher on a party tray.
Recipe Variations and Customizations
This recipe adapts easily to different tastes and occasions. Try these ideas once you master the base version.
- Make It More Flavorful: Add a pinch of flaky sea salt over the wet drizzle.
- Adjust the Texture: Add 2 extra tablespoons crumbs for a firmer, less creamy center.
- Create a Different Version: Leave the tops undipped to make Butterfinger buckeyes.
- Adapt It to Your Preferences: Roll smaller 2-teaspoon balls for bite-sized party truffles.
What to Serve With This Recipe?
Festive Butterfinger Balls pair well with drinks and desserts that balance their richness. Choose a pairing that fits your event.
For Everyday Meals
Serve two balls with cold milk or hot coffee.
For Special Occasions
Add them to a holiday cookie tray with peppermint bark and sugar cookies.
For a More Complete Meal
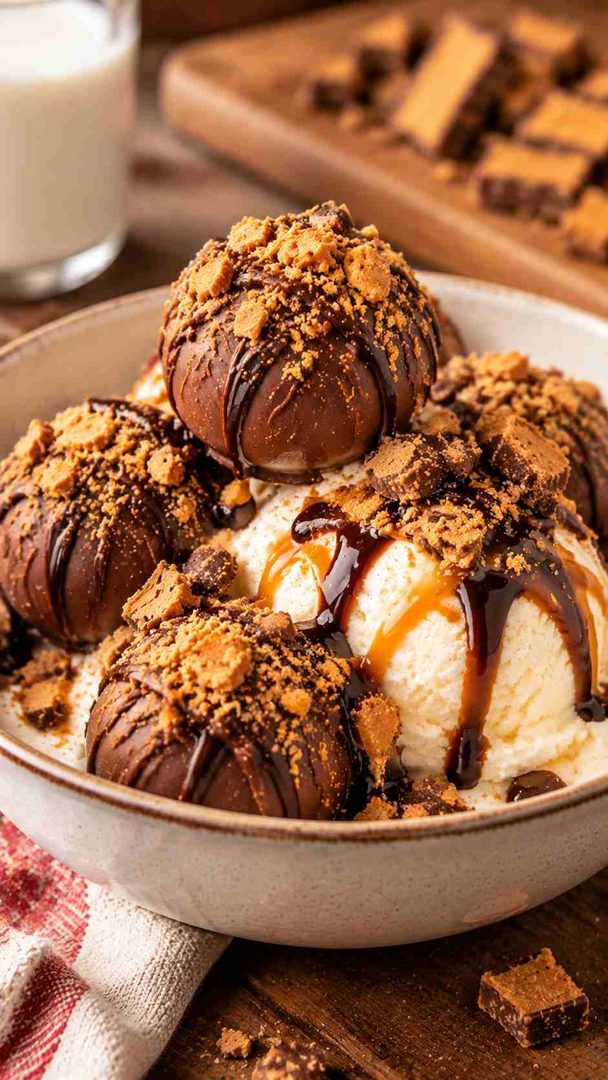
Pair with vanilla ice cream for an easy candy-bar sundae.
For a Lighter Option
Serve one ball with fresh apple slices or a cup of hot tea.
Make-Ahead Preparation
These truffles suit busy holiday schedules. Most of the work happens days before serving.
- Prepare in Advance: Make and coat the balls up to 2 weeks ahead.
- A Few Hours Before Serving: Add drizzle and crushed candy if you skipped them earlier.
- Just Before Serving: Arrange the chilled balls on a platter or in mini paper cups.
Storage and Reheating
Proper storage keeps the coating crisp and the filling creamy. Follow these steps for leftovers.
- Refrigerator Storage: Store airtight in the fridge for up to 2 weeks.
- Freezer Storage: Freeze in a freezer-safe container for up to 3 months.
- Reheating Instructions: Skip reheating, since these truffles are best served cold.
- Restoring the Original Texture: Thaw frozen balls overnight in the fridge to prevent sweating.
- Layering Tip: Place wax paper between layers so the coating stays smooth.
Common Problems and How to Fix Them
Most problems come from temperature or peanut butter choice. Here’s how to fix each one.
- The Texture Is Not Right: Oily filling means natural peanut butter; switch to Jif or Skippy.
- The Flavor Is Too Mild: Add more crushed Butterfinger or a pinch of salt.
- The Recipe Is Overcooked: Seized chocolate means overheating; stir in 1 tsp shortening.
- The Consistency Is Too Thick or Too Thin: Add crumbs to soft dough or peanut butter to dry dough.
- The Final Result Looks Different Than Expected: Lumpy coating means warm filling; chill the balls longer before dipping.
Frequently Asked Questions
Can I make Festive Butterfinger Balls without a mixer?
Yes. Stir the filling firmly with a sturdy spatula. Make sure the butter is very soft first.
Why are my Festive Butterfinger balls falling apart in the chocolate?
The filling is too warm. Chill the balls for at least 30 minutes. Freeze them for 5–10 minutes if they soften while dipping.
Can I use chocolate chips instead of almond bark?
Yes. Melt 10 oz chocolate chips with 1 tsp coconut oil. The oil helps the chips coat smoothly and set shiny.
How far ahead can I make Butterfinger balls for the holidays?
You can make them up to 2 weeks ahead in the fridge. Freeze them for up to 3 months for longer storage.
Do Butterfinger balls need to stay refrigerated?
Yes. Keep them chilled until serving. They hold at room temperature for about 2 hours on a party tray.