Christmas Meringue Kisses
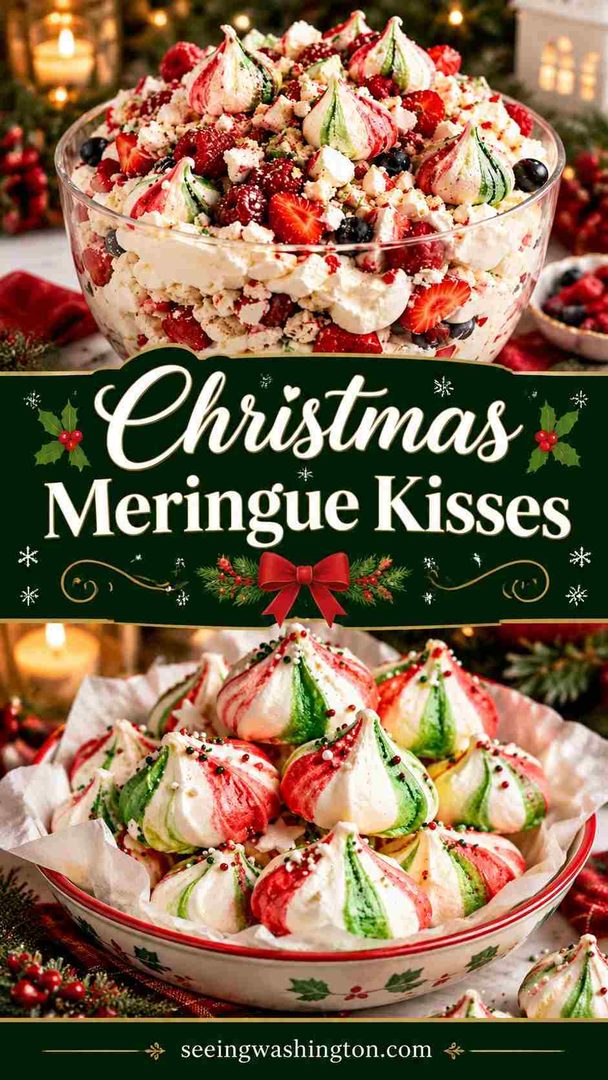
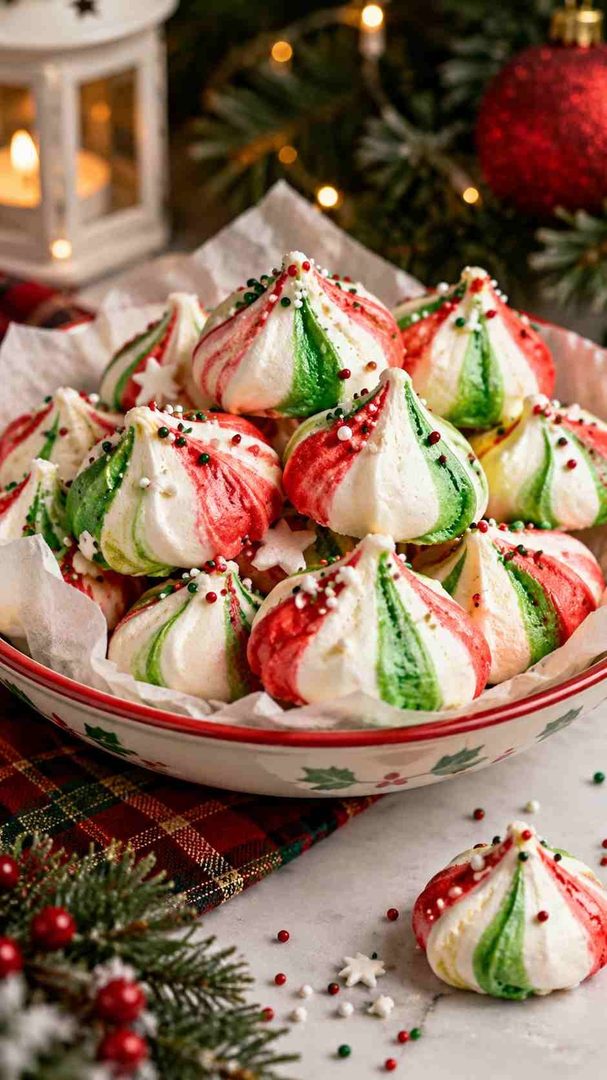
Christmas meringue kisses are bite-sized holiday treats with red and green stripes. Each kiss has a crisp shell and a soft, marshmallowy center. A sprinkle of edible silver balls turns them into cheerful little elf kisses. You need only four ingredients and one simple ratio to get them right.
The striped look comes from painting gel color inside the piping bag. Expect about 60 kisses from one batch, which is plenty for gifting, cookie trays, and holiday snacking.
Quick Recipe Snapshot
- Prep Time: 30 minutes
- Cook Time: 45 minutes
- Total Time: 1 hour 15 minutes
- Servings: About 60 kisses
- Difficulty: Easy
- Best For: Holiday gifts, cookie platters, bake sales, and baking with kids
Before You Start
Good meringue starts before you crack a single egg.
- Initial preparation: Wash and dry every bowl and whisk. Grease stops whites from whipping.
- Ingredient organization: Separate eggs carefully. Even one speck of yolk ruins the foam.
- Equipment requirements: Use a stand mixer or hand mixer. Whisking by hand is exhausting.
- Temperature considerations: Heat sugar at 425°F for 5 minutes. Then lower the oven to 210°F.
- Important preparation reminders: Use gel color only. Liquid coloring makes meringue runny and weak.
Ingredient List
- 300g (1½ cups) caster sugar – superfine sugar that dissolves quickly into egg whites
- 150g (about ⅔ cup) egg whites – roughly 5 medium eggs, at room temperature
- Red gel food coloring – concentrated gel, not liquid
- Green gel food coloring – concentrated gel, not liquid
- Edible silver balls (optional) – also called dragées, for the elf finish
Key ratio: Always use double the sugar to egg whites by weight. If your whites weigh 175g, use 350g sugar.
Ingredient Substitutions
- Vegan swap: Replace egg whites with 150g aquafaba (chickpea cooking liquid). Add ¼ teaspoon cream of tartar at the start. Whisk 3–5 minutes longer before adding sugar.
- Sugar swap: Pulse regular granulated sugar in a blender for 20 seconds. This mimics caster sugar and dissolves more evenly.
- Chocolate twist: Fold in 2 tablespoons sifted cocoa powder after the final whisk. Fold gently with a spatula to keep the air.
- Cinnamon spice: Add 1 teaspoon ground cinnamon during the last minute of whisking. It gives a warm, gingerbread-style flavor.
- Peppermint crunch: Sprinkle finely crushed candy canes on top before baking. Use them instead of silver balls.
Equipment You Need
- Stand mixer or electric hand mixer: Whips whites to stiff, glossy peaks quickly. Steady speed builds a stable foam.
- Large glass or metal mixing bowl: Holds the expanding meringue. Plastic bowls can trap grease.
- Two disposable piping bags: Hold the striped meringue. Cut a large opening for full-sized kisses.
- Small clean paintbrush: Paints gel stripes inside each bag. This creates the signature candy-cane swirl.
- Large baking sheets with parchment paper: Give kisses a flat, non-stick surface. Parchment helps them release cleanly.
- Oven-safe dish: Heats the sugar before whisking. Warm sugar dissolves faster and builds a glossier meringue.
How to Make This Recipe?
Christmas meringue kisses follow a five-phase process. You heat the sugar, whip the whites, and add sugar slowly. Then you stripe the bags, pipe the kisses, and bake low and slow. Each phase is short. The long, gentle bake does most of the work.
Phase 1: Prepare Everything
Preheat your oven to 425°F. Spread the caster sugar in an oven-safe dish. Heat it for about 5 minutes until hot but not melted. Meanwhile, wipe your bowl and whisk with a paper towel. Separate the egg whites and weigh them.
Phase 2: Start Building the Recipe
Remove the sugar from the oven and lower the temperature to 210°F (175°F convection). Start whisking the egg whites right away. Whisk until they form stiff peaks that hold their shape. This takes about 2–3 minutes on medium-high speed.
Phase 3: Develop the Main Components
Turn the mixer to its highest speed. Add the warm sugar one spoonful at a time. Wait until stiff peaks return before adding the next spoonful. Once all sugar is in, whisk on high for 5 more minutes. The meringue should look thick, firm, and very glossy.
Phase 4: Bring Everything Together
Dip a paintbrush in red gel coloring. Paint three or four stripes inside one piping bag. Repeat with green gel in the second bag. Fill both bags with meringue and cut a large opening at each tip. Dab a little meringue on each corner of your baking sheets. Press parchment on top so it stays in place.
Phase 5: Finish and Serve
Start piping in the top left corner of the sheet. Hold the bag upright and squeeze gently. Stop squeezing and lift straight up to form a peak. Repeat until the meringue is used up. Sprinkle silver balls on top before baking. Bake in the center of the oven for 30–45 minutes. Cool the kisses completely before serving.
How to Tell When It’s Ready?
Finished meringue kisses show clear signs. Check these four things before you pull the tray.
- Appearance: Kisses look dry and matte. Stripes stay bright, not browned.
- Texture: Shells feel firm and crisp. Centers stay slightly soft and chewy.
- Temperature or Doneness: Kisses lift off the parchment cleanly. No sticky bottoms stay behind.
- Final Result: Each kiss holds a sharp peak. Red and green stripes swirl neatly.
Why Does This Recipe Work?
This recipe works because it controls sugar, air, and moisture. Each choice protects the meringue’s structure.
- Flavor combination: Pure sugar and egg whites create a clean, sweet base. That simple flavor pairs well with festive add-ins like cinnamon or cocoa.
- Texture and consistency: Warm sugar dissolves fully into the whites. This produces a smooth, glossy meringue with a crisp shell and soft center.
- Cooking method: A low oven dries the meringue instead of browning it. The colors stay vivid and the shape stays sharp.
- Preparation time: Active work takes just 30 minutes. The oven handles the rest while you prep other holiday treats.
- Ingredient accessibility: You need only sugar, eggs, and gel coloring. Every grocery store carries them, and silver balls are optional.
Important Tips for Better Results
Small details decide whether meringue succeeds or collapses. These tips prevent the most common mistakes.
- Practical tip: Follow the 2:1 sugar-to-whites ratio by weight. Weighing beats measuring cups every time.
- Preparation tip: Use room-temperature egg whites. They whip faster and reach greater volume.
- Cooking tip: Add sugar slowly, one spoonful at a time. Rushing causes a weepy, grainy meringue.
- Texture tip: Rub a little meringue between your fingers. If it feels gritty, keep whisking.
- Seasoning or adjustment tip: Use only powdered flavorings. Liquids loosen the meringue and spoil its structure.
- Serving tip: Serve kisses fully cooled. Warm meringues feel sticky and lose their crunch.
- Weather tip: Bake on a dry day when possible. Humidity makes meringue soft and tacky.
Recipe Variations and Customizations
Christmas meringue kisses adapt easily to new flavors and colors. Try these ideas for different tastes and occasions.
- Make It More Flavorful: Fold in freeze-dried raspberry powder. It adds tang and pink color.
- Adjust the Texture: Bake 15 minutes longer for crunch. Bake less for chewier centers.
- Create a Different Version: Pipe larger rounds for mini pavlovas. Top with cream and berries.
- Adapt It to Your Preferences: Swap red and green for blue and silver. Perfect for winter parties.
What to Serve With This Recipe?
Meringue kisses fit almost any holiday table. Match the pairing to the moment.
For Everyday Meals
Serve kisses with hot cocoa or coffee after dinner.
For Special Occasions
Add them to a Christmas cookie platter or dessert table.
For a More Complete Meal
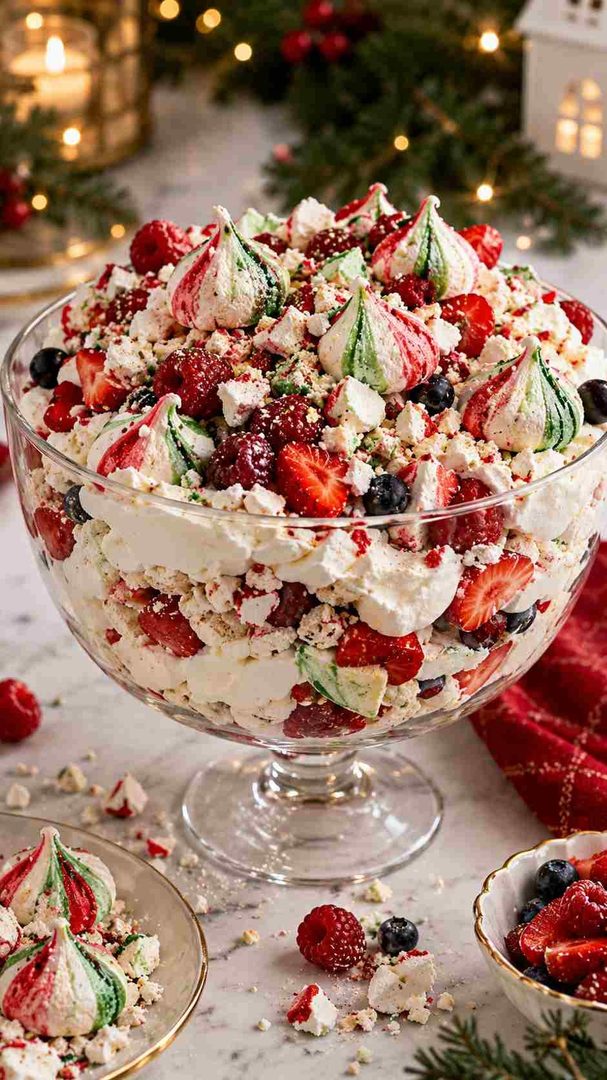
Crumble kisses over whipped cream and berries for an easy Eton mess.
For a Lighter Option
Pair two or three kisses with fresh fruit or yogurt.
Make-Ahead Preparation
Meringue kisses are ideal for holiday planning. Most of the work can happen days ahead.
- Prepare in Advance: Bake kisses up to 2 weeks ahead. Store them airtight.
- A Few Hours Before Serving: Arrange kisses on platters or in gift bags. Keep them covered.
- Just Before Serving: Add whipped cream or fruit toppings last. Moisture softens meringue fast.
Storage and Reheating
Air and humidity are meringue’s biggest enemies. Smart storage keeps kisses crisp for weeks.
- Refrigerator Storage: Avoid the fridge. Its moisture makes meringue soft and sticky.
- Freezer Storage: Freeze in airtight containers for up to 1 month. Thaw sealed.
- Reheating Instructions: Meringues don’t need reheating. Serve them at room temperature.
- Restoring the Original Texture: Re-crisp soft kisses at 200°F for 10 minutes. Cool completely.
Common Problems and How to Fix Them
Most meringue problems trace back to grease, moisture, or rushing. Here’s how to fix each one.
- The Texture Is Not Right: Grainy meringue means undissolved sugar. Whisk longer before piping.
- The Flavor Is Too Mild: Add cocoa, cinnamon, or freeze-dried fruit powder. Fold in gently.
- The Recipe Is Overcooked: Browned kisses baked too hot. Lower the heat next time.
- The Consistency Is Too Thick or Too Thin: Runny meringue had grease or yolk. Start fresh with clean tools.
- The Final Result Looks Different Than Expected: Faint stripes need more gel. Paint thicker lines inside bags.
Frequently Asked Questions
Why won’t my egg whites form stiff peaks?
Grease or yolk is the usual cause. Wipe your bowl with paper towel and separate eggs carefully.
Can I use liquid food coloring for Christmas meringue kisses?
No. Liquid coloring thins the meringue. Use concentrated gel coloring with the paintbrush method.
When do I add the edible silver balls?
Sprinkle them on right after piping. Baking sets them firmly in place.
How long do Christmas meringue kisses last?
They keep up to 2 weeks in an airtight container. Store them at cool room temperature.
Can I make meringue kisses without caster sugar?
Yes. Blend granulated sugar for 20 seconds first. Finer crystals dissolve more smoothly into the whites. Start your first batch with the 2:1 ratio and a spotless bowl.